No Bake Chocolate Peanut Butter Bars
Updated May 17, 2024
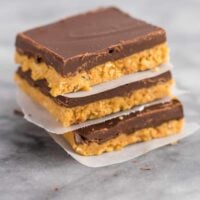
No Bake Chocolate Peanut Butter Bars. This take on the classic dessert is vegan, gluten free, and so simple to make.
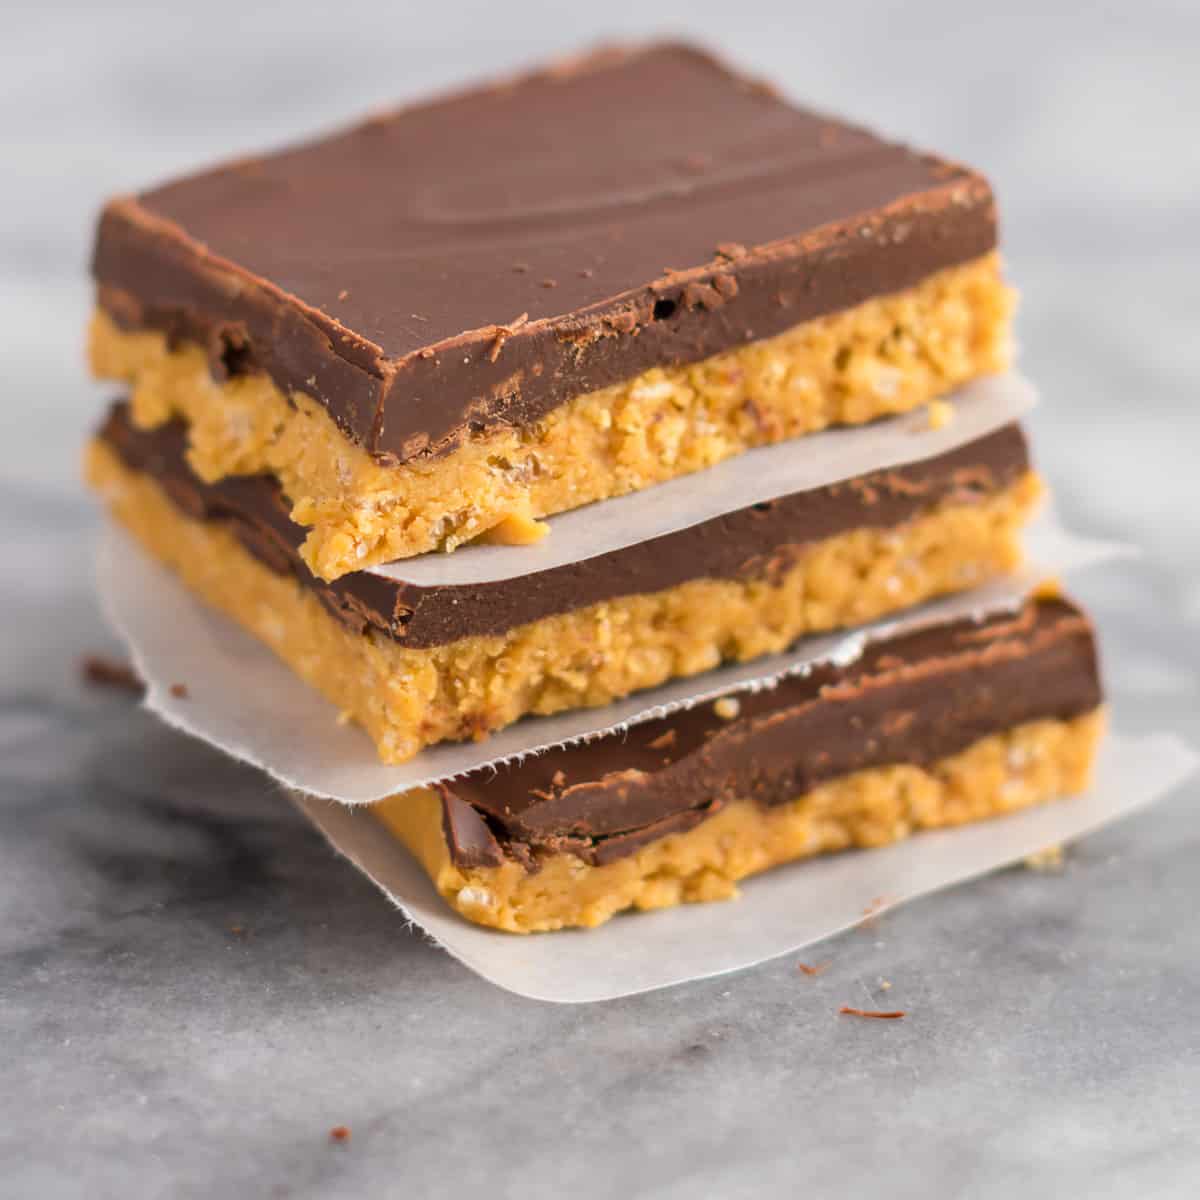
These no bake chocolate peanut butter bars make my taste buds sing. It’s a well known fact that chocolate and peanut butter are a match made in heaven, and these bars do not disappoint!
Honestly, I don’t really think it’s possible to go wrong with any dessert that has chocolate and peanut butter in it. Chocolate peanut butter bars are a classic favorite Christmas treat.
I lightened these up by using less sugar, while also making them vegan and gluten free. All while tasting every bit as good as the original!
Ingredients to make no bake chocolate peanut butter bars
- creamy all natural peanut butter (only ingredients should be peanuts and salt)
- pure maple syrup
- gluten free crispy rice cereal
- coconut flour
- dairy free semi sweet chocolate chips
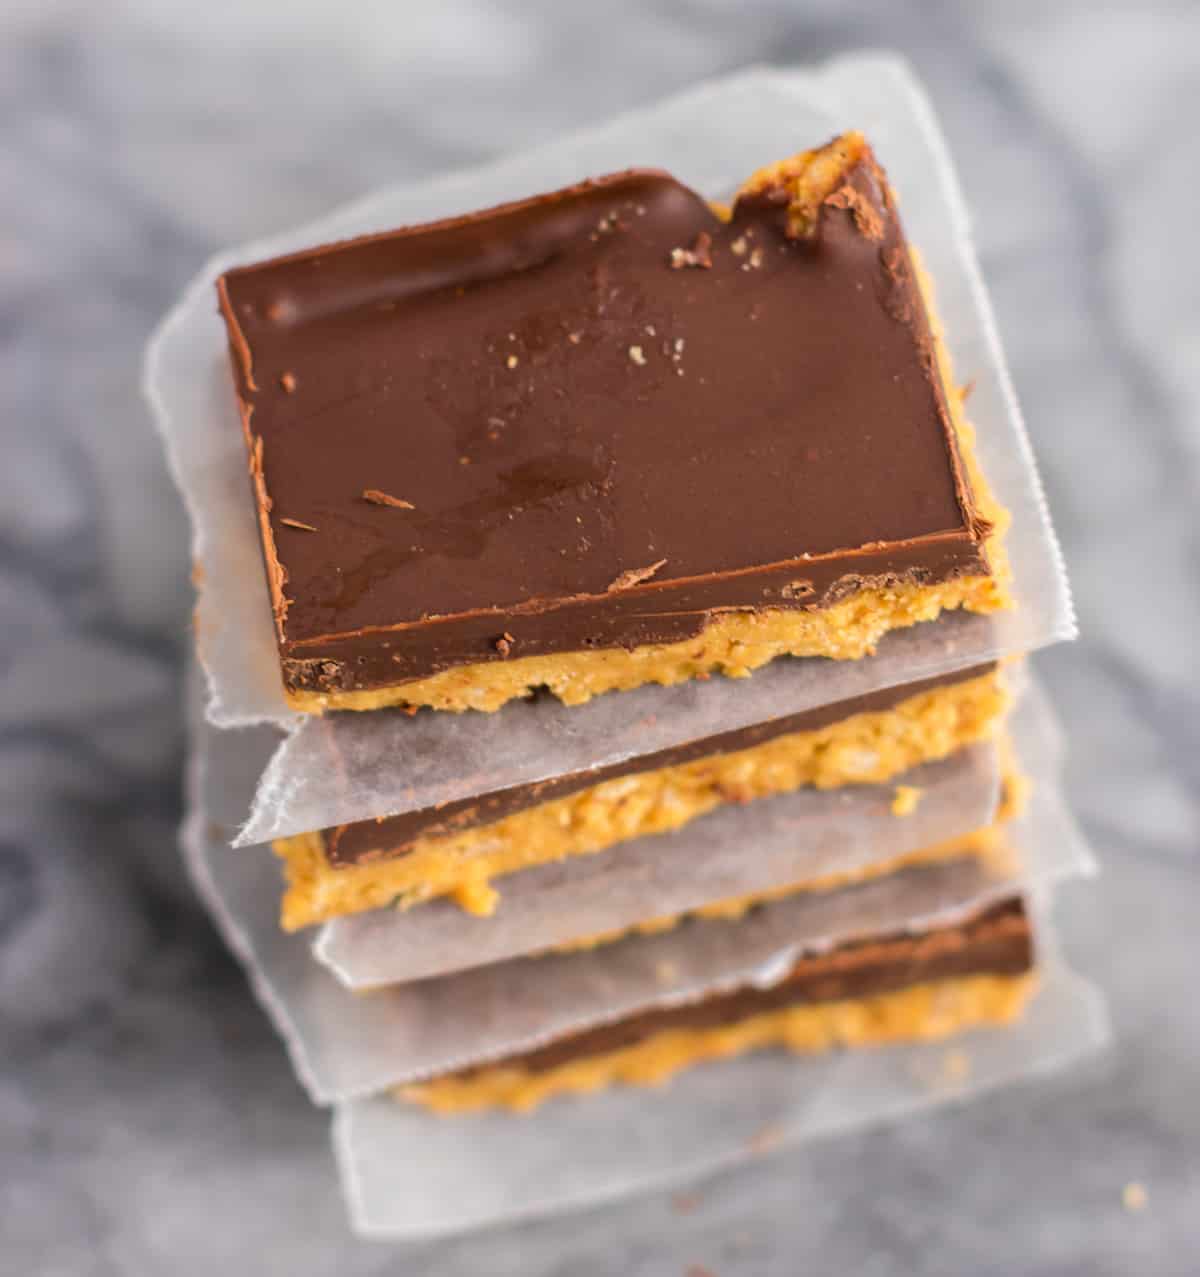
How to make no bake chocolate peanut butter bars
Step 1: Make the peanut butter filling first. Whisk 1 cup of creamy peanut butter with the maple syrup until combined. After the peanut butter and maple syrup are mixed, add in the coconut flour and crisp rice cereal until well combined.
Step 2: Line an 8 X 8 dish with wax paper and place the peanut butter filling in the dish. Spread peanut butter filling evenly and flat into the dish using a rubber spatula (be sure to go flat to the edges).
Step 3: Add the chocolate and 1/4 cup of peanut butter to a microwave safe bowl. Microwave in 20 second increments, stirring after each time, until melted (be careful not to burn).
Step 4: Pour the melted chocolate over peanut butter layer, and use a clean rubber spatula to smooth the top.
Step 5: Place in the fridge or freezer for 1 hour, or until set.
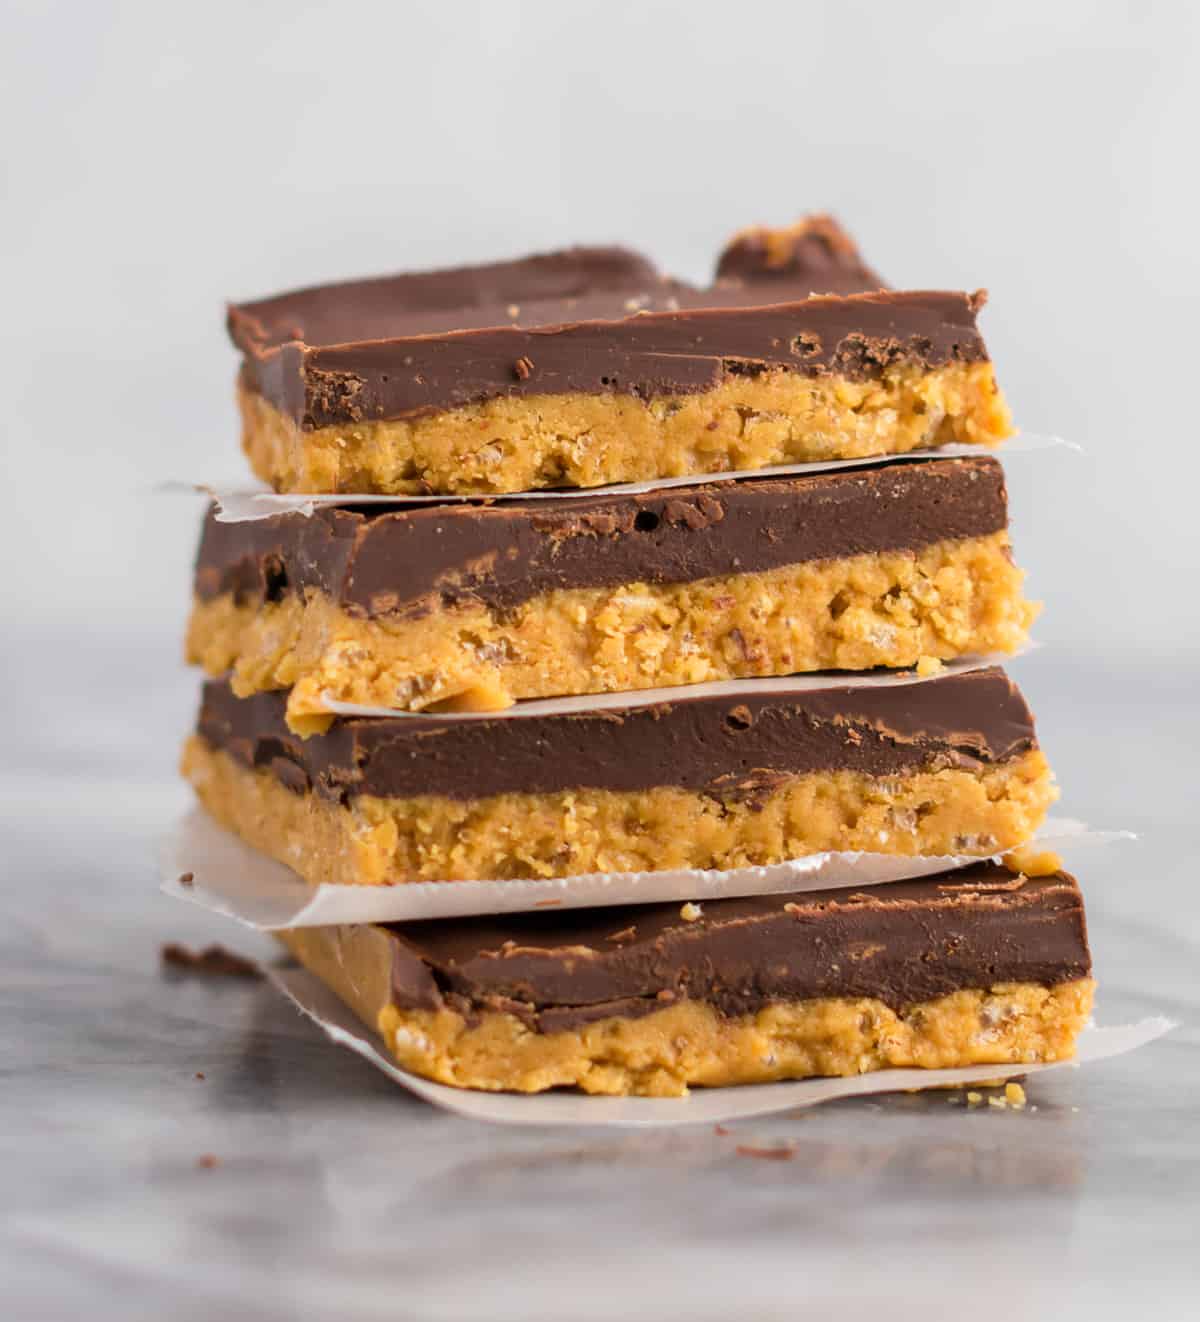
Tip: Allow bars to warm slightly before cutting. If you cut them too cold, the chocolate will crack and not cut evenly.
Cut into 16 squares, or more if you want smaller pieces!
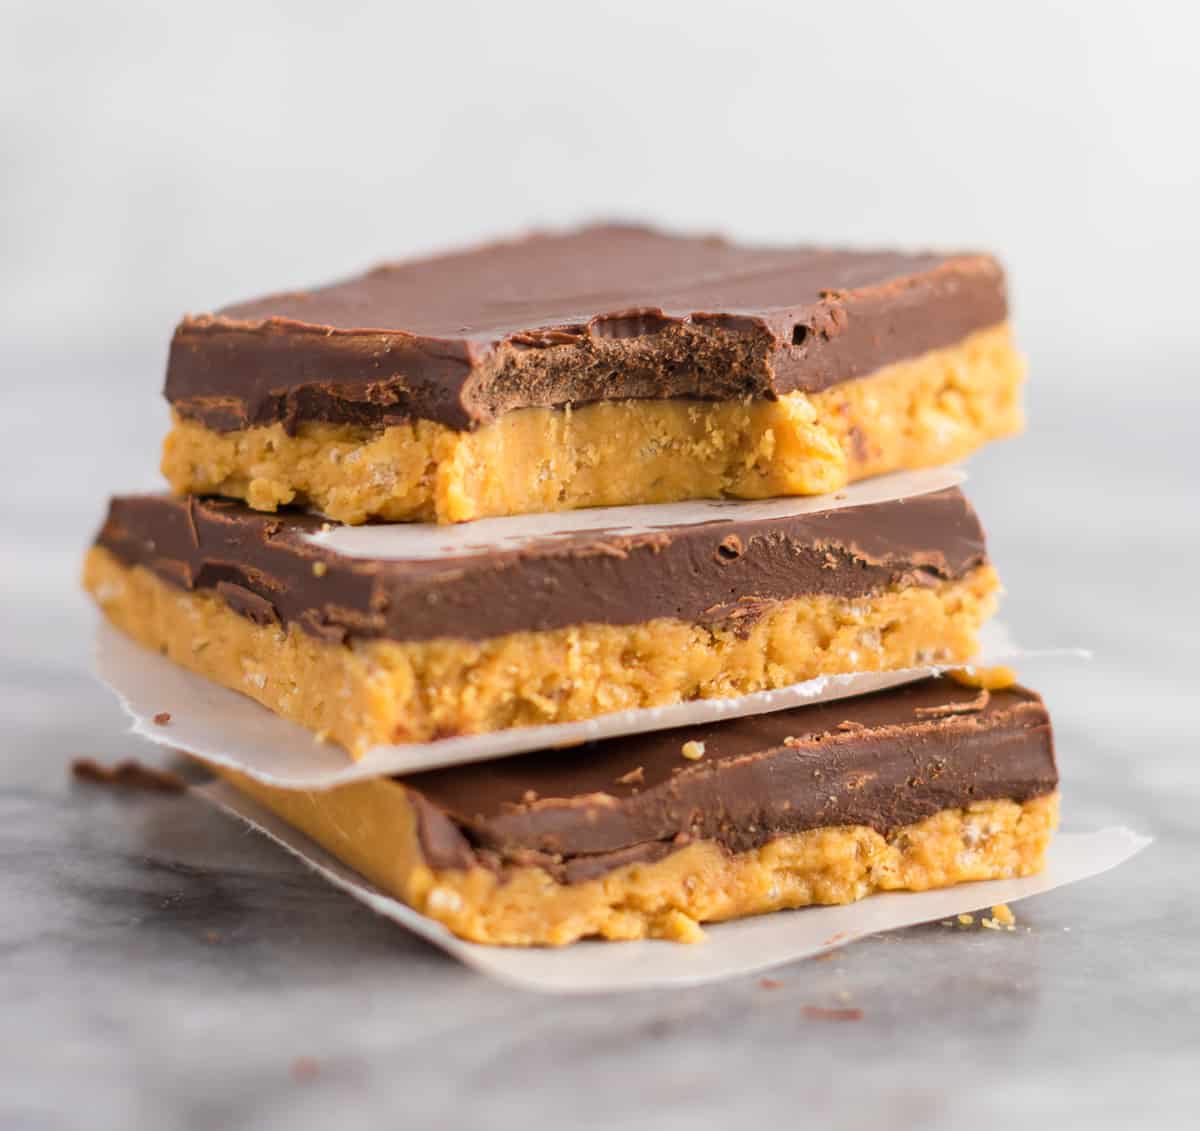
Once cut, you can serve them either straight out of the freezer, or leave them out to enjoy at a party. I love keeping extra in my freezer for a quick sweet tooth fix!
More Desserts
- Best Healthy No Bake Cookies
- Dairy Free Chocolate Chip Cookies
- Chocolate Sea Salt Pretzel Bark
- No Bake Peanut Butter Truffles
- Dark Chocolate Almond Bark
- Vegan Peanut Butter Fudge
- Vegan Peanut Butter Cups
Did you make this recipe? I want to see! Don’t forget to tag us on instagram @buildyourbite and hashtag #buildyourbite with your recipe photos!
Be sure to follow Build Your Bite on Pinterest for all the latest delicious vegan and vegetarian recipes!
Did you make this recipe? Be sure to leave a star rating below!
No Bake Chocolate Peanut Butter Bars
Ingredients
For the peanut butter layer
- 1 cup creamy all natural peanut butter, only ingredients should be peanuts and salt
- 4 tablespoons pure maple syrup
- 1 cup gluten free crispy rice cereal
- 1/3 cup coconut flour
For the Chocolate Layer
- 10 oz dairy free semi sweet chocolate chips
- 1/4 cup creamy all natural peanut butter
Instructions
- Make the peanut butter filling first. Whisk 1 cup of creamy peanut butter with the maple syrup until combined.
- Add in the coconut flour and crisp rice cereal until combined
- Line an 8 X 8 dish with wax paper
- Spread the peanut butter filling evenly and flat into the dish using a rubber spatula (be sure to go flat to the edges)
- Add the chocolate chips and 1/4 cup of peanut butter to a microwave safe bowl
- Microwave in 20 second increments, stirring after each time, until melted (be careful not to burn)
- Pour the melted chocolate over peanut butter layer, and use a clean rubber spatula to smooth the top
- Place in the fridge or freezer until set. Allow to soften slightly before cutting into bars


These were delicious! I swapped half of the maple syrup for maple flavored balsamic vinegar to cut the sugar/glycemic load down, and you can’t tell. They were delicious. The only other change I’d make is cutting up the rice cereal a bit, as my flakes were pretty large (might depend on the brand of cereal though). Thanks for the recipe.